
Welcome to our Knowledge Base
Creating a Custom SKU
Table of Contents
Creating a Custom SKU for the product
Some retailers will have a different SKU in their system compared to the SKU in our system. You will need to create a custom SKU for that product and enable it on the inventory template to send it.
* Please note that the custom SKU will belong to the sales channel assigned to it and does not apply to other sales channels.
In order to create a custom SKU:
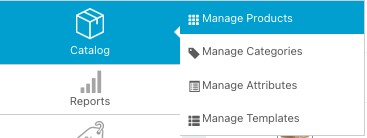
- Go to Catalog > Manage Products
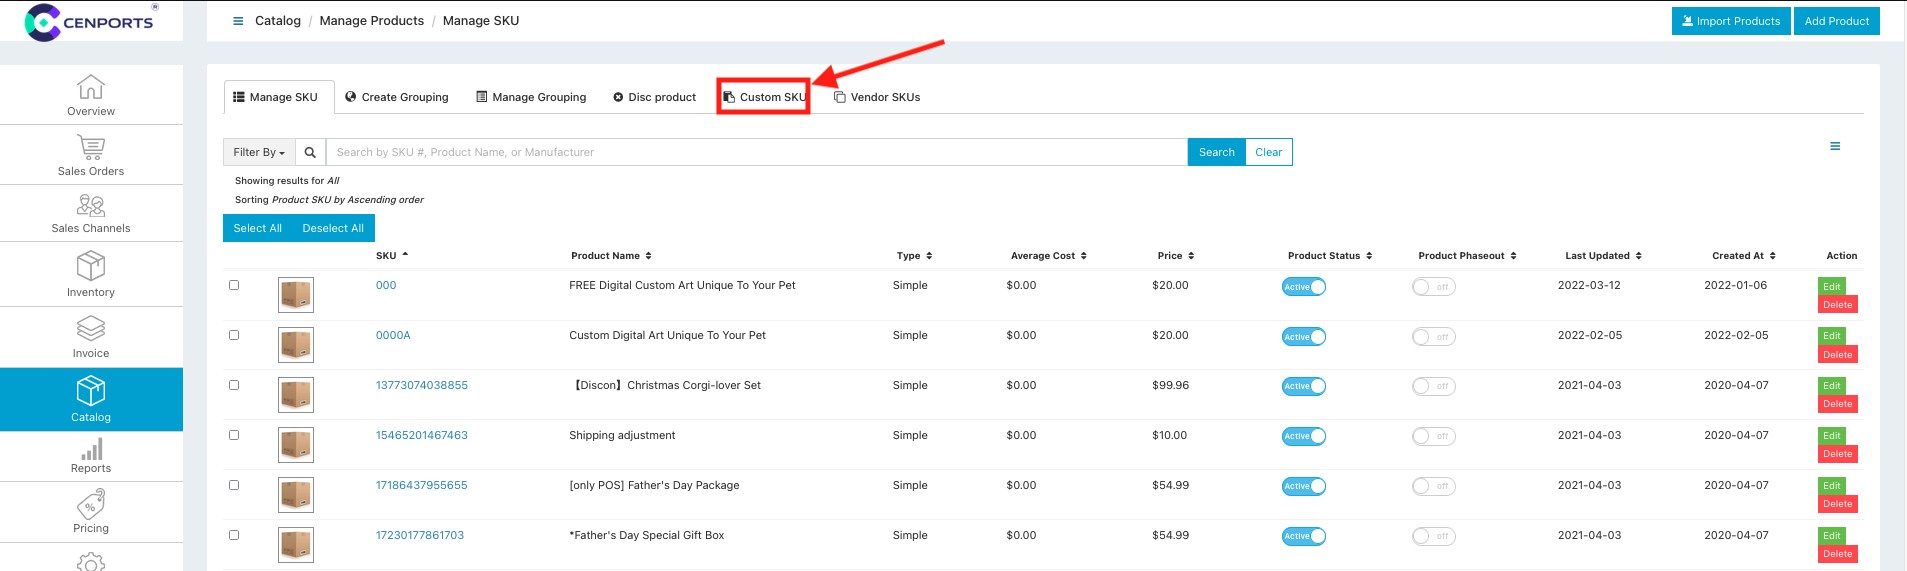
2. Go to the tab that says Custom SKU. (If you cannot see this tab, please contact the tech team and we will add the access for you)
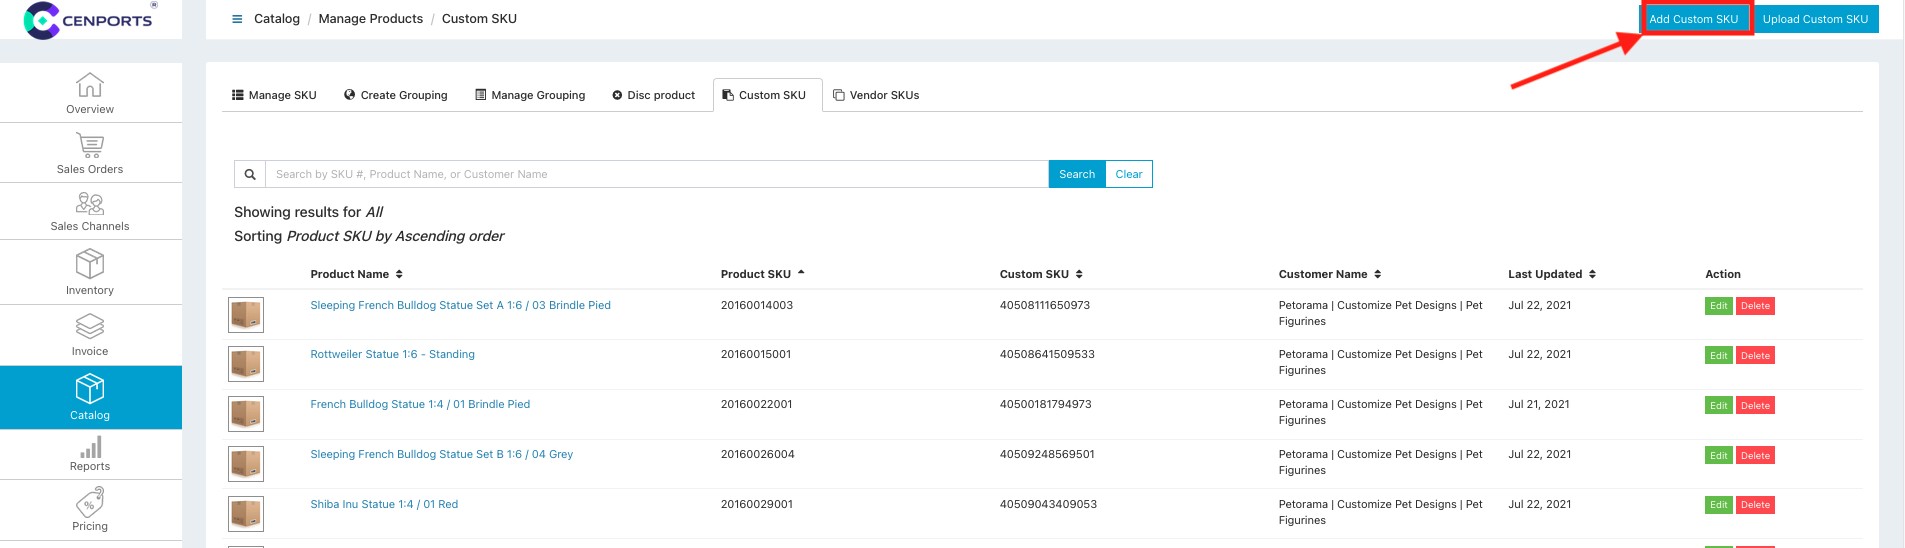
3. Once you are there, you can click Add Custom SKU to start the custom SKU creation.
4. A form will appear and you will need to fill out the following information:
- Product SKU (the SKU of the product on our dashboard)
- Custom SKU (the retailer’s SKU)
- Customer (the Sales Channel on our dashboard that this SKU belongs to)
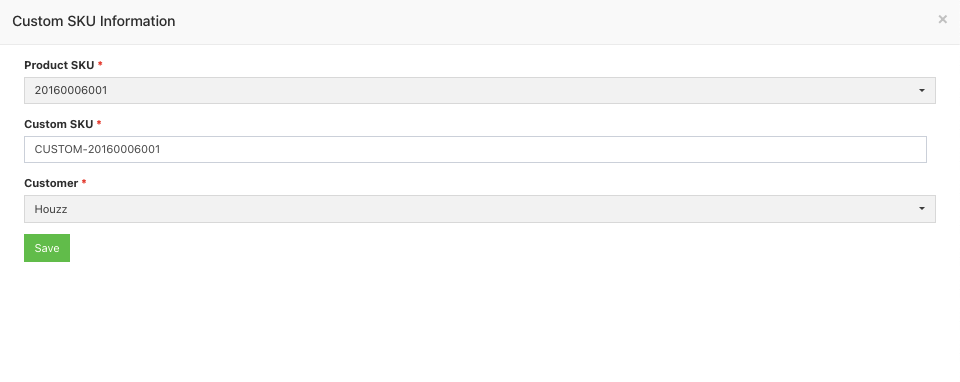
5. Click Save once finished and the custom SKU will be saved to our system.